Install and create your first upload form
From an empty Google Sheet to a shareable upload link in about five minutes.
1. Create a sheet
Make a new Google Sheet. It will hold the form’s settings and the Uploads log. One sheet is one form, so name it after the form (“Client documents”, “Assignment drop box”).
2. Install and open the add-on
Install from the Google Workspace Marketplace, then choose Extensions → Upload Link → Open. The first time, Google asks you to allow the permissions listed on the privacy policy.
3. Set up the form
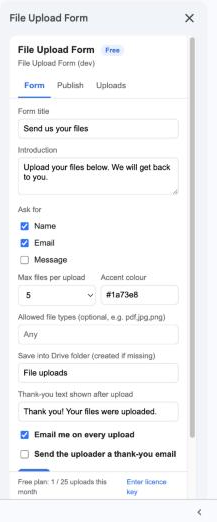
- Form title and introduction: what visitors see at the top of the page.
- Ask for: name, email, message. Email is needed if you want the thank-you email.
- Max files per upload (1 to 10) and allowed file types, for example
pdf,jpg,png. Leave types empty to accept anything. - Save into Drive folder: the folder is created the first time someone uploads.
- Email me on every upload: on by default.
Click Save. The settings live inside the sheet; nothing is sent to us. See settings for every option.
4. Publish once
Open the Publish tab and follow the four steps, then paste the link back. The full walkthrough with screenshots is in publish your form.
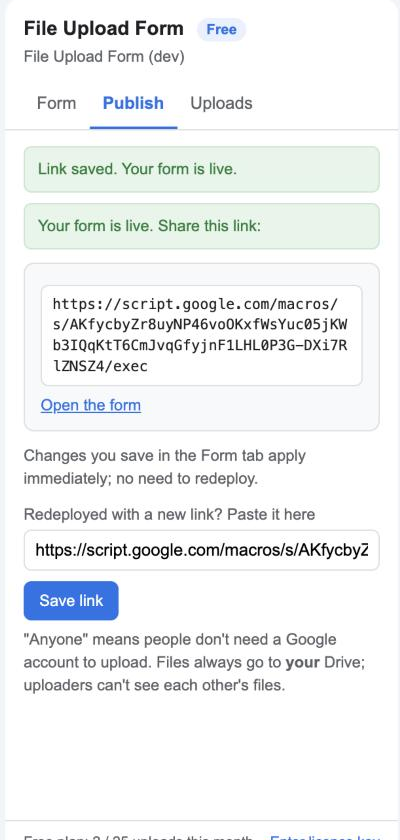
5. Share the link
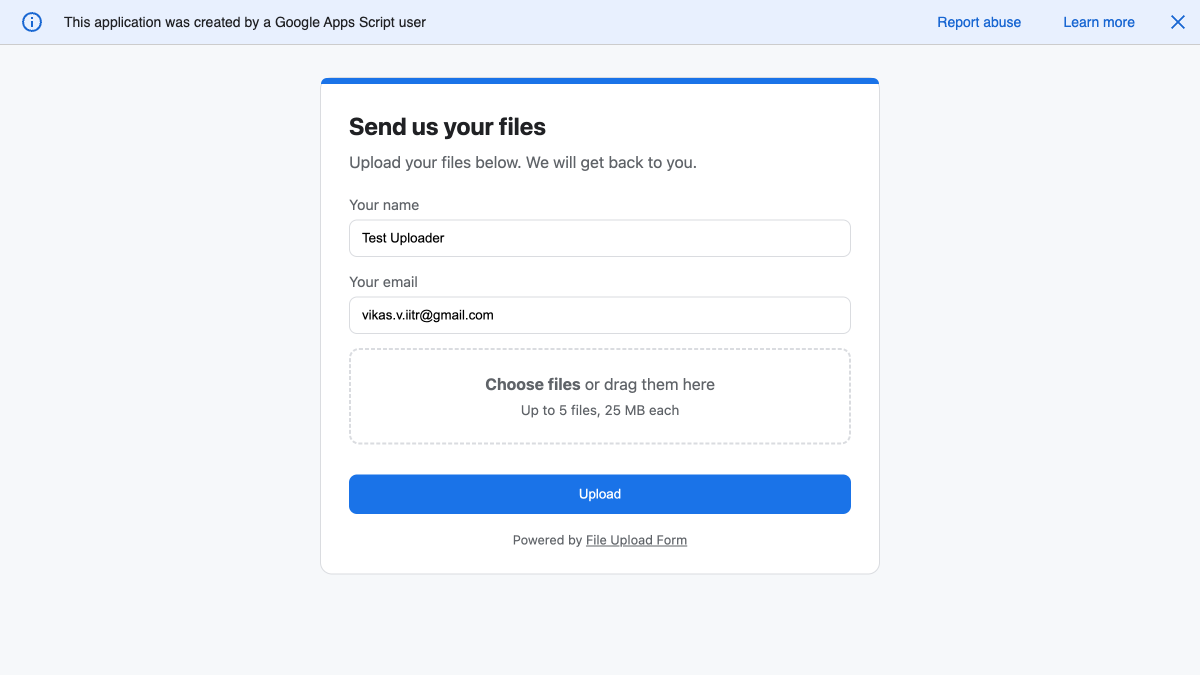
Send the link by email, put it on your website, or make a QR code for it. Visitors see a page like this:
6. Watch the uploads arrive
Every submission:
- saves the files into your Drive folder,
- adds a row to the Uploads tab (time, name, email, message, file names, links),
- emails you with the details and links.
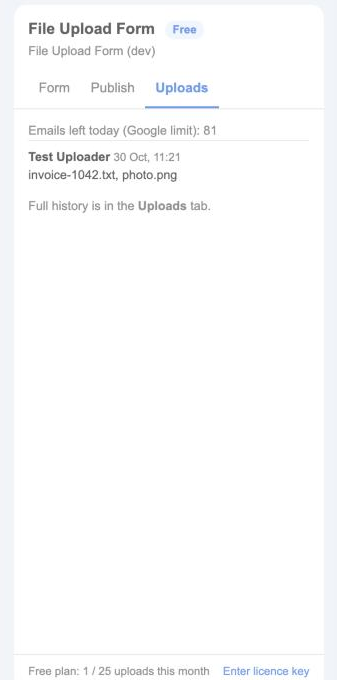
The Uploads tab in the sidebar shows the latest ones at a glance.